
The construction, sizes and care routine behind FloorHug door mats, kitchen rugs and stair treads — in plain words, no jargon.
By FloorHug Team · 16 November 2026 · 8 min read
In this guide
Most mat problems start inside the mat, not on top of it. A backing that curls, an edge that frays, a surface that holds water — all of that is decided before the mat ever reaches your floor. So this guide starts where the mat starts: the layers.
What a FloorHug mat is made of
Every FloorHug mat has three working parts. Once you know them, care instructions stop sounding random — each rule protects one of these parts.
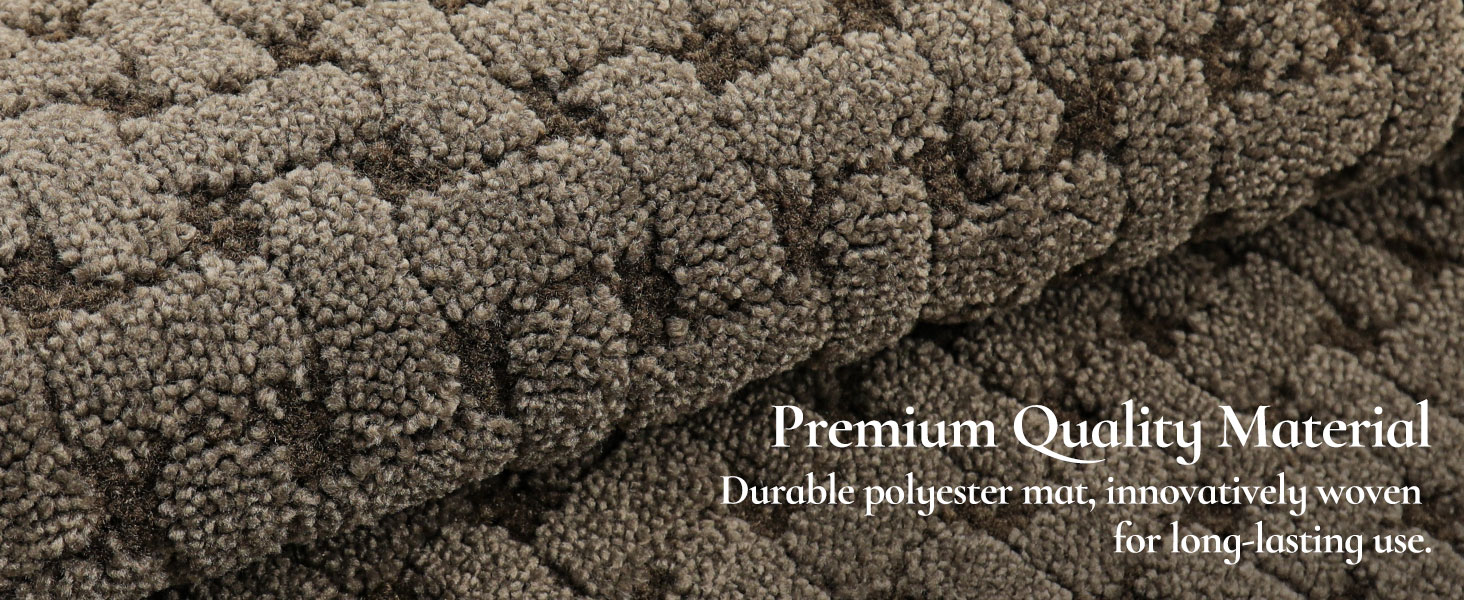
The surface pile
A dense, low loop pile. Dense is the word that matters: the tighter the pile, the more grit it catches before the grit travels further into your home. Low is the second half of the deal — at around 0.45 inches thin, a FloorHug door mat clears a door swing without jamming.
The backing: TPR on flat floors, TPE on steps
Both are rubber, but they are not the same rubber. TPR is the firmer one. It sits under FloorHug door mats and kitchen rugs, which lie flat on a wide floor, and it grips tile, wood and vinyl without a rug pad. TPE is the softer one. It goes on FloorHug stair treads, because a tread takes your full body weight on a few narrow inches of wood — a firm backing would bridge and feel hollow underfoot.
The edge
The edge is sewn with two threads running through every layer. That is the lockstitch edging, and it is why the mat does not fray at the sides. It is also the one part you cannot repair at home: once the stitch line is cut, the surface pulls away from the rest. This is the real reason we say never trim a mat to fit — pick the nearest listed size instead.
FloorHug mat sizes at a glance
Sizes and colours can change with new stock, so treat the Amazon listing as the source of truth. The table below covers the common configurations people ask about.
| Product | Common size | Sold as |
|---|---|---|
| Door Mat | 24 in × 36 in | Single mat, several colours |
| Kitchen Rugs | 17 in × 30 in runner + 17 in × 72 in long mat | Set of 2, four patterns |
| Stair Treads | 30 in × 8 in | Sets of 4 or 15, four colours |
Current sizes, colours and prices are listed on each FloorHug Amazon product page.
How to install FloorHug stair treads
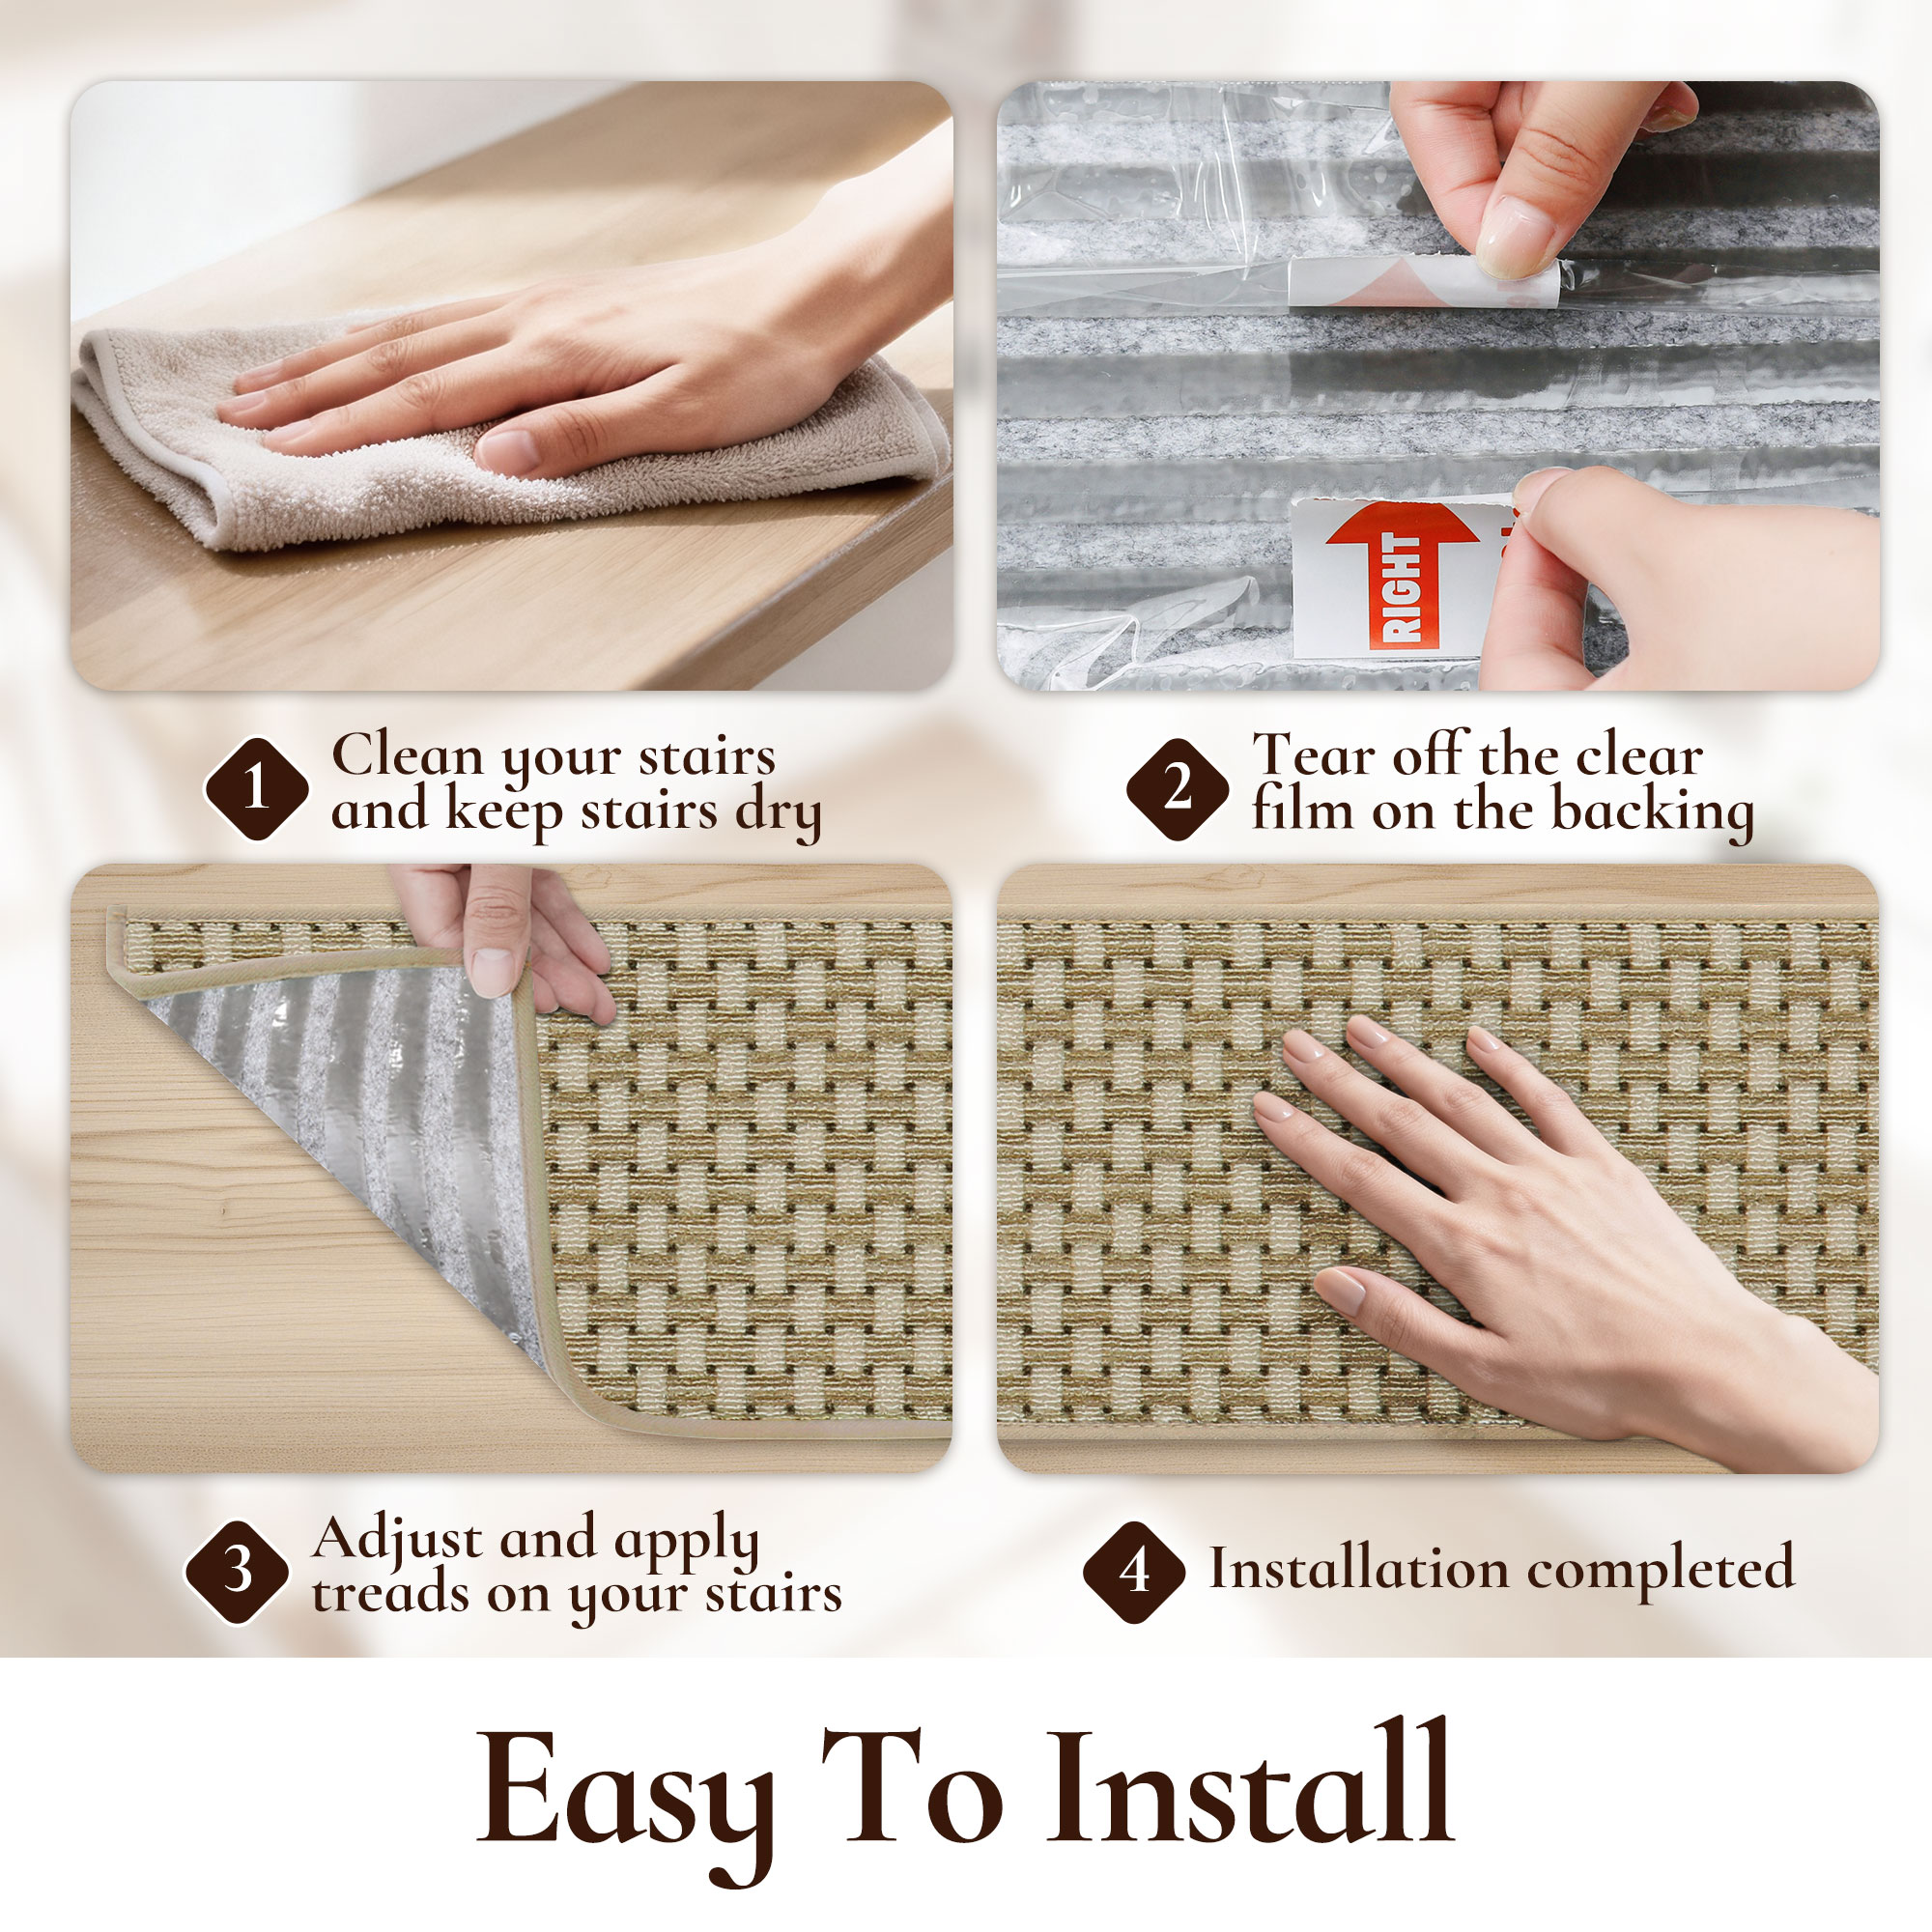
No tape, no nails, no adhesive. The TPE backing holds by friction, but it needs one careful first press to seat properly.
- Start at the bottom step and work upward. You will stand on finished steps the whole time, which is safer than leaning over unfinished ones.
- Clean each step first. Dust between the backing and the wood is the main reason treads shift later.
- Align the front edge of the tread about half an inch from the nose of the step. Keep that gap identical on every step — the eye notices uneven lines immediately.
- Press from the centre out with your palms, then push the corners down. One firm press is enough.
- Check alignment from the bottom of the stairs before moving on. Straightening later is easy; redoing all fifteen is not.
- Give it 24 hours before a deep clean. The backing fully relaxes into the wood within a day of normal foot traffic.
How to clean and wash a FloorHug mat
The routine is short on purpose. Dirt wears a mat down slowly; water held against the floor wears it down fast. Every rule below exists to keep the two apart.
| Mat type | Weekly | Monthly or as needed |
|---|---|---|
| Door mat | Shake out, or vacuum both sides | Rinse with water, air dry flat |
| Kitchen rug | Vacuum on low | Gentle machine wash, air dry flat |
| Stair treads | Vacuum in the direction of the pile | Spot clean with a damp cloth |
The care label on each product gives the exact machine cycle — this table is the method, not the settings.
Two rules do most of the work. Dry it flat, never hanging: a wet backing is heavy, and hanging stretches the sewn edge. Let the backing dry completely before it touches the floor: a damp backing cannot grip, and trapped moisture is what shortens a mat's life.
A quiet bonus of the design: nothing is glued down, so cleaning under a FloorHug mat is just lift, sweep, press back down.
Four common spills, four quick fixes
Coffee or juice
Blot first, always. Rubbing pushes the liquid deeper into the pile. Then rinse the spot with cold water and press a dry towel on it until the towel stays dry.
Mud
Let it dry. Dry mud lifts out with a brush or a vacuum; wet mud smears and spreads. This one patience rule saves more mats than any cleaner.
Oil from the kitchen
Dish soap is the tool. Work a drop into the spot with your fingers, rinse, and repeat once. The absorbent surface takes the spill fast — the soap just takes away the mark it leaves.
Pet accidents
Blot, rinse with cold water, and dry flat with airflow underneath if you can. Skip steam: heat sets the smell instead of removing it. Because the backing is rubber and not foam, a quick rinse does not harm it.
FloorHug care questions, answered
Can FloorHug mats go in the dryer?
No. Heat is hard on rubber backings. Air dry flat, and the mat keeps its shape and grip.
Are FloorHug mats safe with underfloor heating?
Yes, within normal settings. Floor heating standards (BS EN 1264) cap the floor surface at 29°C for living areas — a mat on a floor that cool is fine. Just let the backing dry fully after any wash before it goes back down.
Why is my new mat still flat-pressed from shipping?
We offer two packing methods: folded packing and rolled packing. - Rolled packing: The mat is rolled instead of folded, so it won’t develop sharp, permanent creases. Any faint pressure marks will relax naturally within a few days with regular use, or you can place a heavy book on the marked area overnight to speed this up. - Folded packing: Temporary fold lines may appear. These are not permanent damage and will gradually fade after laying the mat flat for a period of time.
How long should a FloorHug mat last?
With the weekly shake and proper drying, expect years of daily use at an entry. The first thing to fail on any mat is the edge, and a sewn lockstitch edge is the slowest to go.